
Upcycling has become the buzzword for sustainability, especially in fashion. It’s the art of turning old, unused items into something valuable and functional. But upcycling isn’t just about being environmentally responsible; it’s also a fantastic way to express creativity. In today’s article, readers will discover five DIY projects that will breathe new life into their wardrobes, helping them to save money and contribute to a sustainable lifestyle. Moreover, these projects are designed to be simple, cost-effective, and incredibly rewarding. So, if you want to update your wardrobe without breaking the bank, you’ve come to the right place.
Why Upcycling is Important
Upcycling doesn’t just offer a fresh look; it presents a way to be kind to Mother Earth. According to the Environmental Protection Agency, the average American throws away 81 pounds of clothing annually. Upcycling helps divert textiles from landfills, contributing to a lesser environmental impact. Moreover, it lowers the carbon footprint of producing new clothing, including the raw materials, manufacturing, and shipping.
Not everyone has the financial means to keep updating their wardrobe with the latest trends. This is where upcycling serves as a boon. It’s an affordable alternative to buying new clothes, often requiring little more than basic supplies and a dose of creativity. Furthermore, each upcycled piece carries a unique design, setting it apart from off-the-shelf garments, thereby adding a personalized touch to one’s style.
Tools and Materials Needed

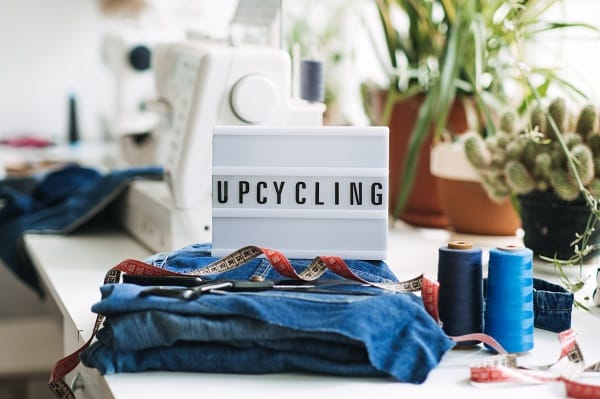
Before diving into the projects, having the right set of tools and materials is crucial. Some essential tools for upcycling include sharp scissors, measuring tape, sewing needles, and threads. A simple sewing machine can be a useful investment for those who aren’t fans of hand-stitching. Ensure all tools are in good condition; for example, blunt scissors can ruin fabrics and make the process more challenging.
When it comes to fabrics and decorations, the sky’s the limit. Old clothes, fabric scraps, buttons, sequins, and lace can add flair to a project. The most exciting part? These items might be lying around the house, waiting for a second life. If additional materials are needed, thrift stores and online platforms offer various affordable options.
Patchwork Jeans

Jeans never go out of style, but that doesn’t mean they can’t be improved or updated. One will need an old pair of jeans and some fabric scraps for this project. These scraps can be from old shirts, dresses, or other material that blends well with denim. A collection of different patterns or colors can make the piece stand out even more.
Creating patchwork jeans involves a series of steps. First, according to preference, one must cut the fabric scraps into patches, either uniform or irregular in shape. The next step is arranging the patches on the jeans to create a desired pattern before pinning them in place. Once the design is set, one can sew the patches onto the jeans. Add a final touch by incorporating buttons or embroidery. The outcome is a unique pair of jeans that offers comfort and style.
Transform a T-shirt into a Bag
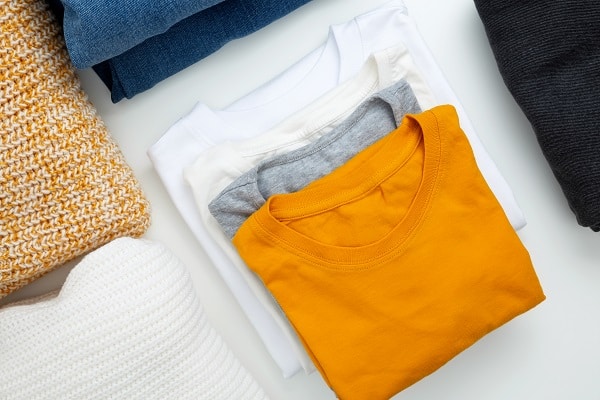
T-shirts often get worn out or become too dated to wear. However, they can be easily transformed into handy bags for various occasions. To make a T-shirt bag, all one needs is an old T-shirt, scissors, and basic sewing skills. Opt for a fun print or logo shirt to make the bag more interesting.
First, cut off the sleeves and the neckline of the T-shirt. The next step involves closing the bottom hem, effectively turning the T-shirt into a bag shape. Turn the bag inside out, and sew the corners to give it a square or rectangular shape. For the straps, the cut-off sleeves, or even braided fabric strips, can be used for added strength. These bags are not only stylish but also highly functional and can be used for shopping, hitting the gym, or as a casual carryall.