
Fixing Drip Leaks
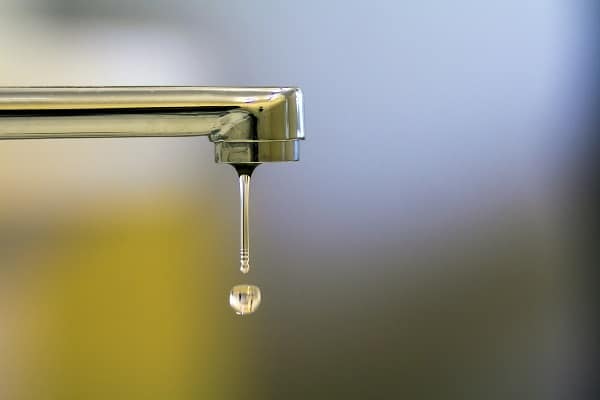
A dripping faucet is usually the result of a worn-out rubber washer, O-ring, or a corroded valve seat. To begin, dismantle the faucet carefully using an adjustable wrench and a screwdriver. Pay close attention to the components as they are removed, making it easier to put everything back together later. Place these parts on a towel or a tray to keep them organized.
Once dismantled, identify the worn-out parts. Typically, the rubber washer or O-ring will appear damaged or corroded. Replace the defective components with new, high-quality parts. Consult the “Essential Tools and Materials” section to ensure you have all the required items on hand. Reassemble the faucet, turn the water supply back on, and check for drips to confirm the issue has been resolved.
Fixing Handle Leaks
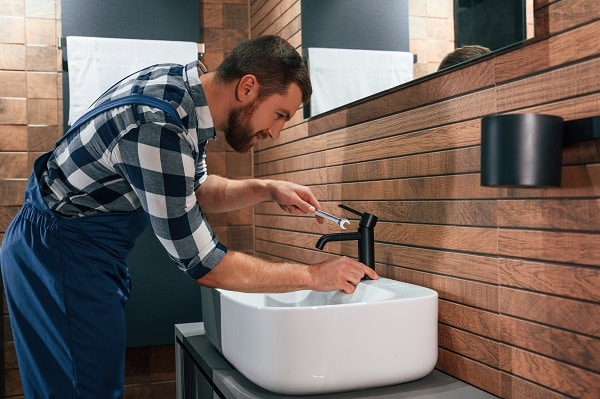
Handle leaks usually occur due to worn-out O-rings or loose parts within the handle mechanism. Repair involves disassembling the handle using a screwdriver to expose the inner components. Often, it’s just a matter of tightening a loose screw or replacing a worn-out O-ring.
After identifying and rectifying the issue, reassemble the handle carefully. Remember to turn the water supply back on and test the faucet like in the previous section. If the handle no longer leaks, then the repair was successful. If the issue persists, it may require further investigation, which could involve replacing additional parts like the stem or even the entire handle unit.
Fixing Base Leaks
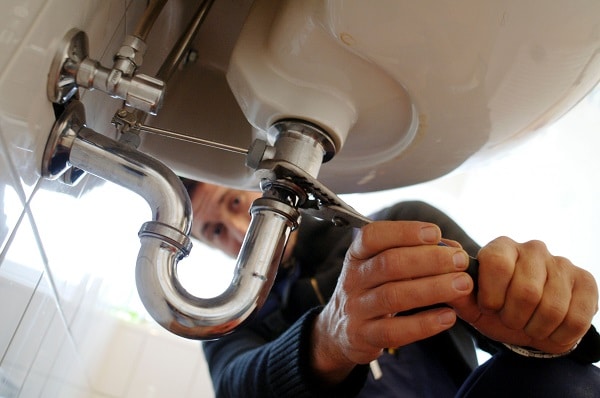
Base leaks often occur when the O-ring or the rubber gasket that seals the base of the faucet wears out. To resolve this, first, disassemble the base of the faucet by loosening the nuts and screws that hold it in place. Once the base is exposed, you’ll typically see a rubber gasket or an O-ring that needs to be replaced.
Replace the damaged gasket or O-ring with a new one, making sure it fits perfectly to ensure a watertight seal. Reassemble the base and re-tighten all the screws and nuts. Turn the water supply back on, run the faucet, and check if the base leaks. If it is, double-check your work and ensure all parts are securely in place.
Post-Repair Checks

After completing the repair, performing some final checks is vital to ensure the faucet is functioning correctly. Turn the water supply back on and run the faucet for a few minutes. Observe closely for any leaks or irregularities. If the problem persists, it might indicate that the repair was unsuccessful or that a more severe issue exists.
Regular maintenance checks can prevent future leaks and extend the lifespan of your faucet. Checking for loose parts, corrosion, and wearing out of components should be a part of your household maintenance routine. It will help you identify potential issues before they escalate, saving you time, money, and unnecessary frustration.
The Bottom Line
Fixing a leaky faucet may seem daunting, but as this comprehensive guide has shown, anyone can undertake a manageable project. From identifying the type of leak to gathering the necessary tools and taking preparatory steps, you’ve learned the essentials of DIY faucet repair. Remember that timely intervention prevents water wastage and saves you money in the long run. Whether you’re dealing with drip, handle, or base leaks, a systematic approach will yield the best results. Feel free to share your experiences or additional tips in the comments below, and here’s to a drip-free future!