
Winter is more than just a season of snowflakes and cozy fireplaces; it’s also a time when your home is put to the test against freezing temperatures, harsh winds, and incessant snowfall. A home ill-prepared for winter can lead to skyrocketing energy bills, bursting pipes, and a myriad of other problems that could have been easily avoided. This makes winterizing your home not just a recommendation but a necessity. So, how does one ensure that a house is snug, secure, and energy-efficient for the winter season? In the upcoming sections, seven essential steps to winterizing your home are laid out and designed to guide you in preparing your home for the frosty months ahead.
Assess Your Home’s Vulnerabilities

The first step in winterizing a home involves identifying the vulnerabilities that could turn into major issues once winter hits. Cracks in the walls, loose shingles on the roof, and drafty windows are all red flags. If you’re uncertain about how to conduct a comprehensive assessment, professional home auditors are available to evaluate your home’s readiness for winter. These experts will inspect everything from your insulation to your heating system, helping you prioritize what needs to be addressed.
Ignoring these vulnerabilities can result in extensive damage and hefty repair bills. Therefore, understanding your home’s weak spots is crucial for effective winterization. Once you’ve conducted a thorough audit—either by yourself or with professional assistance—you’re well-equipped to move on to the next steps. You can now turn your focus to tasks such as improving insulation, sealing gaps, and optimizing your heating system, confident in the knowledge that you’re addressing the most critical areas.
Insulate To Accumulate Savings
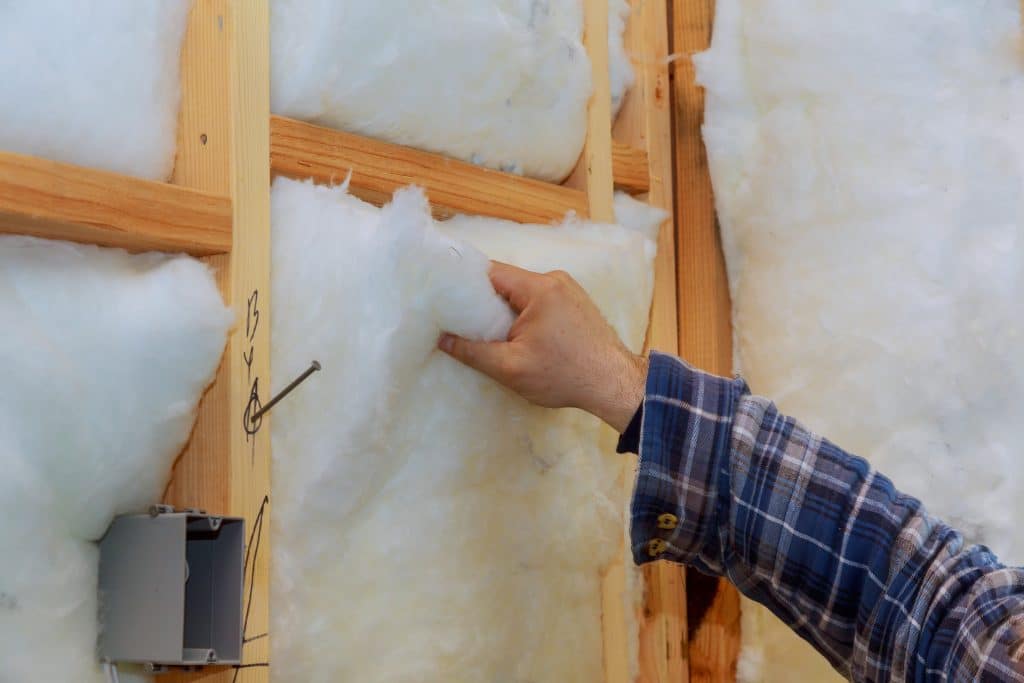
One of the most effective ways to winterize your home is through proper insulation. Quality insulation acts like a thermal blanket around your home, conserving heat and, as a result, energy. Wall and attic insulation are the primary areas to concentrate on. Different types of insulation materials, such as fiberglass, cellulose, and foam, offer various levels of effectiveness, so it’s advisable to do some research before making your selection.
The idea is simple: better insulation leads to less heat loss, which in turn leads to lower energy bills. Insulating your home is an investment that not only enhances your comfort but also pays off in long-term financial savings. Paying attention to the R-values—a measure of thermal resistance—can guide you in choosing the most suitable insulation material for your home. Once you’ve got your insulation sorted, it’s time to turn your attention to the next step: sealing any gaps that might be letting in cold air.
Seal Those Gaps
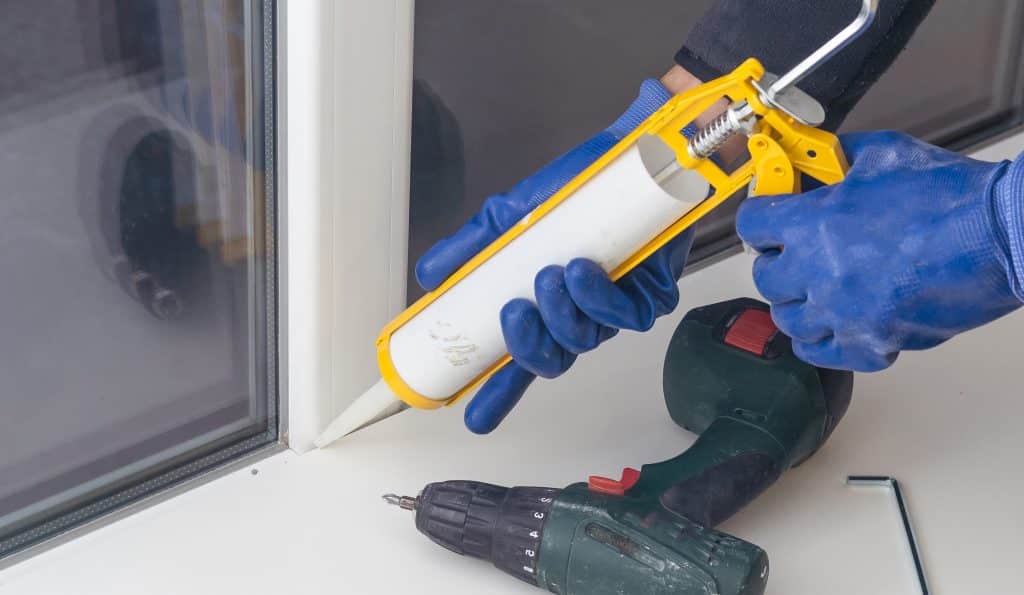
Even the smallest gap in a door or window can become a freeway for freezing air, making your heating system work harder, and your energy bills climb higher. To nip this problem in the bud, consider weatherstripping doors and caulking windows. These are cost-effective, DIY solutions that go a long way in keeping the cold air out and the warm air in.
Of course, sealing gaps isn’t just about doors and windows. Check places like the junctions between walls and the ceiling, where drafts often sneak in. Special sealants and foams are available for these larger gaps. By taking the time to identify and seal all these gaps, you’re adding an extra layer of defense against winter’s chill, setting the stage for the next focus of winterization: your plumbing.