
Contents
Replacing a Broken Light Switch Plate
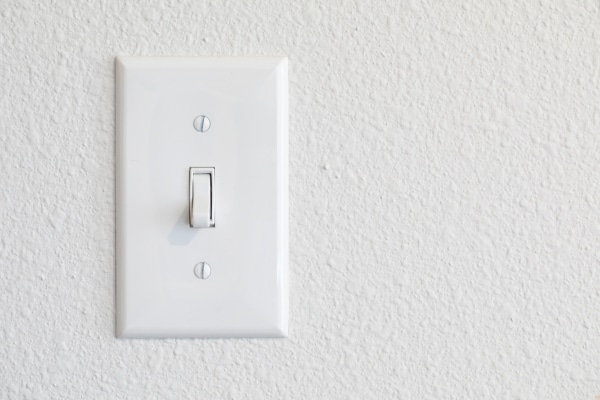
A broken or cracked light switch plate might seem like a small issue, but it can be both a safety hazard and an eyesore. Damaged plates can expose electrical components, increasing the risk of accidents or electrical shocks. Fortunately, replacing a light switch plate is a simple and budget-friendly task that only requires a screwdriver and a new plate, both of which cost less than $5. With a few basic steps, you can improve the appearance and safety of your space.
To replace a light switch plate, begin by turning off the power to the switch at the circuit breaker for safety. Use a screwdriver to remove the screws holding the old plate in place, then carefully lift it off. Align the new plate over the switch and secure it with screws, ensuring everything is tightly fastened. Once the power is turned back on, the new switch plate will not only look polished but also provide peace of mind, knowing your electrical components are safely covered.
Fixing a Squeaky Door Hinge

A squeaky door hinge can be a constant annoyance, but the fix is quick, easy, and inexpensive. Squeaks usually occur because of dust, dirt, or a lack of lubrication in the hinge mechanism. By applying a lubricant such as WD-40, petroleum jelly, or even household oil, you can eliminate the noise and restore smooth door movement. This small repair can cost as little as $5 and takes just a few minutes to complete.
Start by cleaning the hinge area with a cloth to remove any dirt or debris that could interfere with the lubricant. Apply the lubricant directly to the hinge pin and work it in by opening and closing the door several times. If the squeak persists, remove the hinge pin entirely, clean it thoroughly, and reapply the lubricant before reinserting it. Wipe away any excess to prevent attracting dust. This simple repair not only silences the noise but also extends the lifespan of the hinge.
Restoring Grout Lines
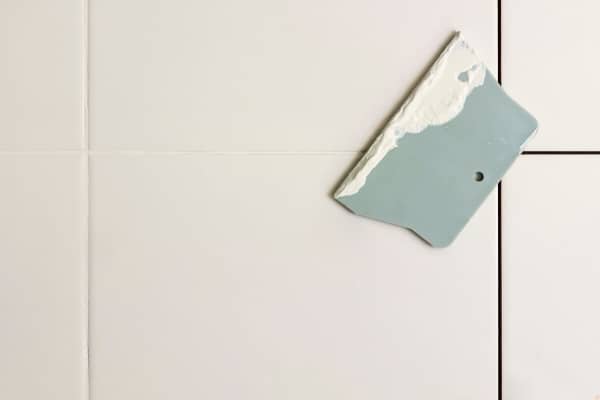
Dirty or damaged grout can make even the cleanest kitchen or bathroom look grimy. Over time, grout lines can accumulate stains, mildew, or dirt, but they can be restored to their original state with some elbow grease and inexpensive materials. Grout cleaners, scrub brushes, and even homemade solutions like baking soda and vinegar are effective for this task. For less than $20, you can give your tile surfaces a refreshed and polished appearance.
Begin by applying a store-bought grout cleaner or a paste made from baking soda and water to the grout lines. Use a scrub brush or an old toothbrush to vigorously clean the grout, focusing on stained areas. Rinse the area with water and dry thoroughly. For added protection, consider applying a grout sealer to prevent future stains, though this may slightly increase the cost. This small project can transform tiled surfaces and leave your home looking clean and well-maintained.
Transform Your Home with Simple DIY Fixes
Home repairs don’t always have to come with a hefty price tag or the need for professional help. By tackling simple projects like fixing a leaky faucet, repairing wall holes, unclogging drains, replacing switch plates, silencing squeaky hinges, and restoring grout lines, you can save money and keep your home in top condition. Each of these tasks costs under $20, making them accessible for any budget. Beyond the savings, these repairs help build confidence in your ability to maintain and improve your space. Start small, and watch as your DIY skills transform your home, one project at a time.