A subfloor serves as the backbone of any home’s flooring system, providing the necessary support and stability for the visible floor covering. Over time, however, subfloors can deteriorate due to various factors, necessitating replacement. Understanding the signs of damage, the materials used, and the tools required can make the subfloors replacement process smoother and more efficient for homeowners.
Signs Your Subfloor Needs Replacement
Subfloors, despite being hidden beneath the main flooring, can manifest signs of damage in several noticeable ways. One of the most evident signs is visible damage, such as warping, cracks, or holes that compromise the integrity of the floor. Additionally, if walking across a room results in persistent squeaking or creaking sounds, it’s a clear indication that the subfloor may be damaged. Another red flag is the presence of persistent odors, which can be a sign of mold or mildew growth due to moisture damage.
Materials Used in Subflooring
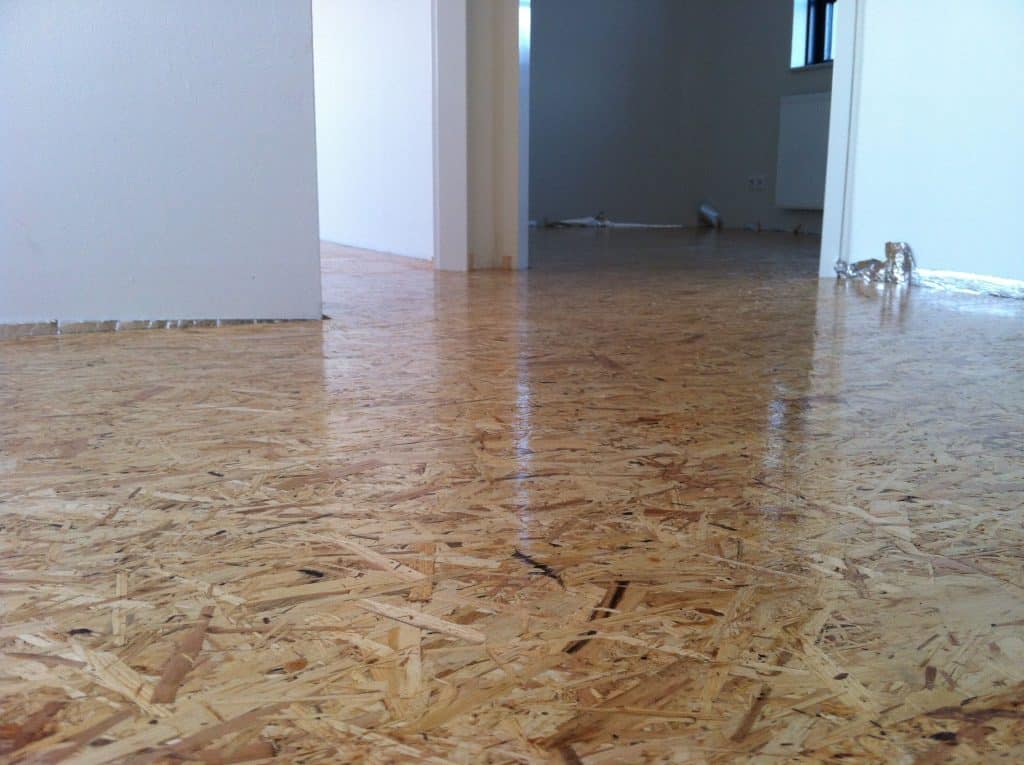
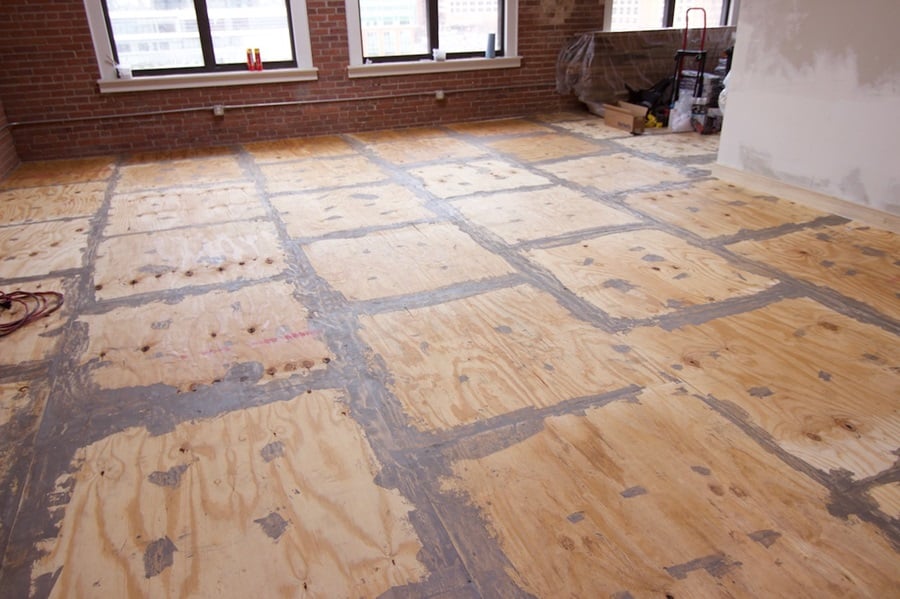
The choice of subflooring material plays a crucial role in the longevity and performance of the floor. Plywood is a popular choice due to its strength and versatility, making it suitable for various floor coverings. On the other hand, Oriented Strand Board (OSB) offers a more cost-effective alternative, though it’s essential to weigh its pros and cons against plywood. For homes or areas requiring additional durability, concrete subfloors are an option. They provide a solid base, especially in settings where moisture or heavy loads are a concern.
Tools Required for Subfloor Replacement

Safety should always be the top priority when undertaking a subfloor replacement project. Essential safety gear includes gloves to protect the hands, goggles to shield the eyes from debris, and masks to prevent the inhalation of dust. Accurate measurements are crucial for a seamless fit, making tools like tape measures and chalk lines indispensable. For the actual replacement process, cutting tools such as circular saws and jigsaws are necessary to shape the subflooring material. Finally, fastening tools like hammers, nails, or screw guns ensure that the new subfloor is securely in place.
The Replacement Process: Step-by-Step

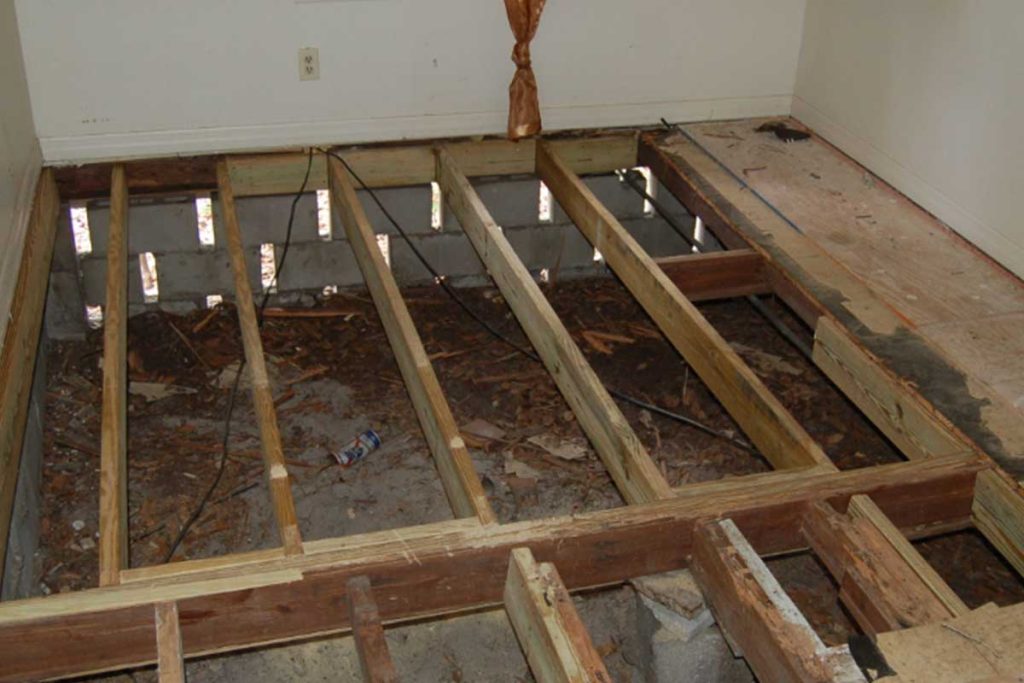
Embarking on a subfloor replacement begins with preparing the area. This involves removing furniture, rugs, and the existing floor covering to expose the subfloor. Once the area is clear, it’s essential to inspect the old subfloor to identify the extent of the damage and plan the removal process. The removal of the old subfloor requires care to avoid causing further damage to the surrounding structures. After removal, the installation of the new subfloor commences. Proper alignment is crucial, as is precise cutting to ensure a snug fit. Once the pieces are in place, fastening them securely completes the installation.
Cost Factors in Subfloor Replacement