From its aesthetic appeal to its added protection from outdoor elements, vinyl siding has become one of the most favored exterior solutions for homeowners. But eventually, you may come to a point where this covering needs replacing – either due to damage or simply because you’re yearning for an updated appearance. Fortunately, transforming your home by replacing vinyl siding doesn’t have to be overwhelming; with proper planning and tenacity, you can do it easily! In this post, you’ll get a closer look into what’s needed when switching out aged vinyl siding.
What Makes Vinyl Siding An Efficient Option?

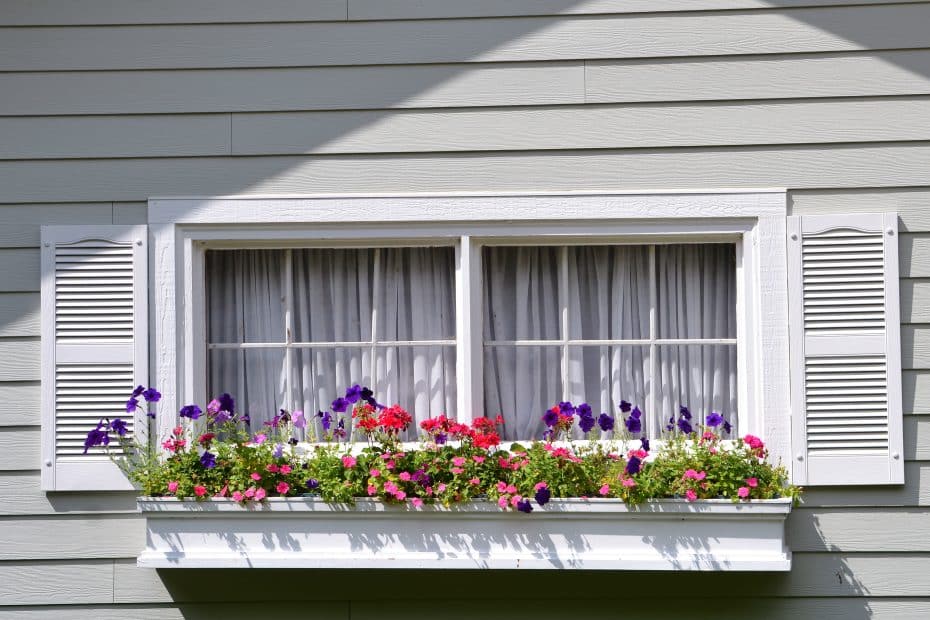
Vinyl siding offers many features, such as excellent flexibility, resistance to weather damage, durability, and a lower cost when compared to more traditional options like wood. This type of siding can also reduce energy bills by providing an extra layer of insulation to the walls of a building. Additionally, vinyl siding requires little maintenance or upkeep; just a simple wash or spray-down annually requires no painting or caulking like traditional forms of exterior cladding such as brick or stone.
Aside from its practical and cost advantages, vinyl siding gives homeowners the creative freedom to choose from various textures and colors that can dramatically enhance the look of any residence. From luxurious gloss finishes to faux beadboard styles, vinyl siding provides numerous opportunities to make a house stand out amidst others in its neighborhood.
Signs Your Vinyl Siding Needs Help

Keeping an eye on the condition of your siding is essential for protecting the exterior of your home from the elements and improving its overall appearance. As with any feature of your home, certain indicators indicate that your vinyl siding may need attention. Cracks, holes, or loose pieces are telltale signs that it’s time to call in the experts.
Additionally, start to notice discoloration or mold on your siding. These can be signs of water intrusion, and active steps should be taken to ensure long-term quality. Fortunately, addressing these issues early can bring preventative maintenance benefits and shield your investment in vinyl siding.
Tips For Replacing Vinyl Siding
If you find that your vinyl siding needs to be replaced, there are a few things you should keep in mind if you decide to undertake the project yourself. The following tips can help you get started:
Assessing The Extent Of The Damage

Before getting started, it is essential to assess the extent of the damage. Typically, the main culprit of damaged vinyl siding is water trapping, leading to mold, mildew growth, and breakage between the panels during expansion and contraction. It is crucial to inspect the area closely to determine if portions can be salvaged or must be replaced before beginning to work on the installation to save time and resources.
Whole sections will need replacing when there is evidence of rotting wood underneath or when more than 25% of boards are affected; however, minor repairs such as patching cracks or holes can usually be completed without an entire replacement. All in all, assessing the damage before any renovation on vinyl siding will keep costs low and ensure that your home remains secure from further weather infiltration.
Choosing The Right Materials

The quality of the material you choose to use can determine how long a replacement will last and how much money and time you may need to invest in repair and maintenance. When selecting a new siding material, it is critical to consider the local climate conditions, building occupancy rates, and cost of materials. Vinyl siding tends to be the least expensive option but requires frequent cleaning due to the accumulation of dirt and oil from air pollution. Choose products that require little or no maintenance for long-term durability.
Additionally, research materials are best suited for extreme weather conditions such as high winds, intense humidity, and heavy rains. Ultimately, selecting the right materials for your vinyl siding replacement can save money in the long run through greater durability and fewer repairs.