Removing The Old Siding
One of the more challenging parts of replacing vinyl siding is removing the old siding, as it must all be removed to start fresh. Luckily, there are some best practices that can make this job much easier and ensure that you remove your old siding without damaging building materials underneath. Start by removing loose pieces with a flat bar and then cutting off the nails holding the siding in place.
Wear safety glasses and gloves when working on old siding, as nails may become loose or sharp pieces may fly out during removal. Then, you may need to use a heat gun to loosen up the adhesive that holds the siding together. After this, you can pry it off and dispose of it under local waste regulations.
Preparing The Wall

Once you have removed the old siding, it is essential to make sure that you prepare the wall for installation before proceeding. To ensure proper adhesion and long-term performance of your new vinyl siding, fill any holes in the wall with caulk or foam insulation and coat over any bare wood with a primer to help prevent rot and water infiltration.
It is also a good idea to check for any plumbing issues in the wall before beginning installation. Things like clogged vents, missing seals on openings, or faulty gaskets can affect the performance of your siding and should be addressed as soon as possible.
Installing The Started Strip

Installing the starter strip is essential for proper installation, providing a secure foundation for your vinyl siding. Start by measuring an area at least two inches down from the top of the wall and then cutting the starter strip to size. Attach with galvanized nails, ensuring they are secure but not too deep to prevent splitting the wood.
From there, you can use a level to ensure your starter strip is even. Remember that if your wall is uneven, you may need to use a larger starter strip to ensure that your siding fits properly. And if you find any gaps where the starter strip meets the wall, use foam insulation to fill them in before moving on.
Installing The Vinyl Siding
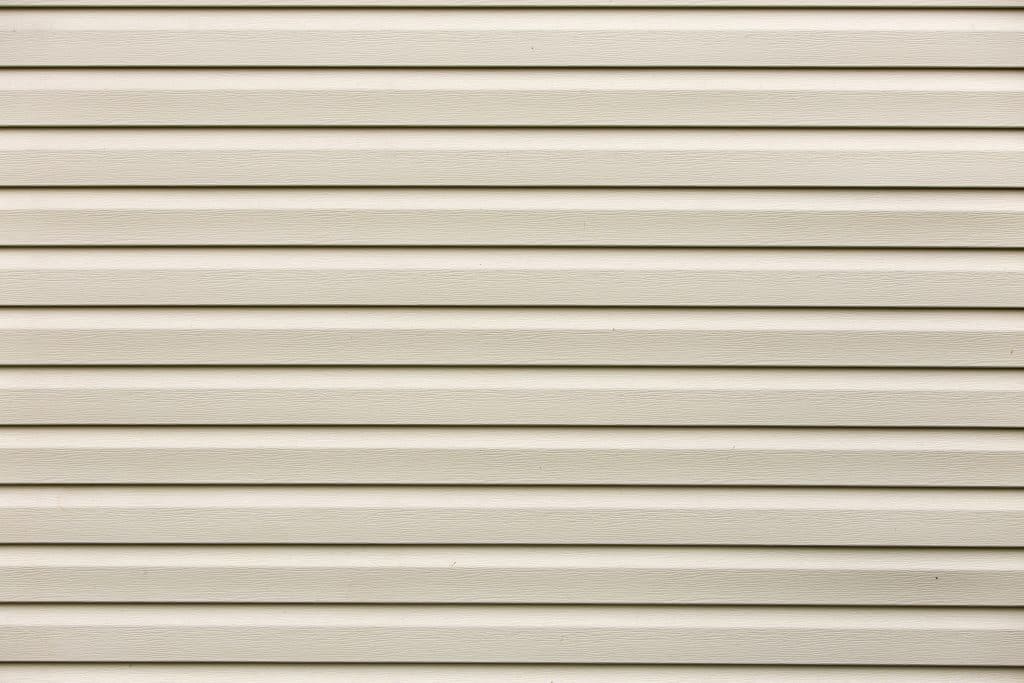
Once you have finished preparing the wall and installing your starter strip, it is time to start attaching the vinyl siding. Use galvanized nails every 12-16 inches along the length of the piece, and make sure that they are not driven too deep, as this could cause splitting or cracking. Start at one corner of the house and ensure that each piece overlaps the previous one to ensure a secure fit.
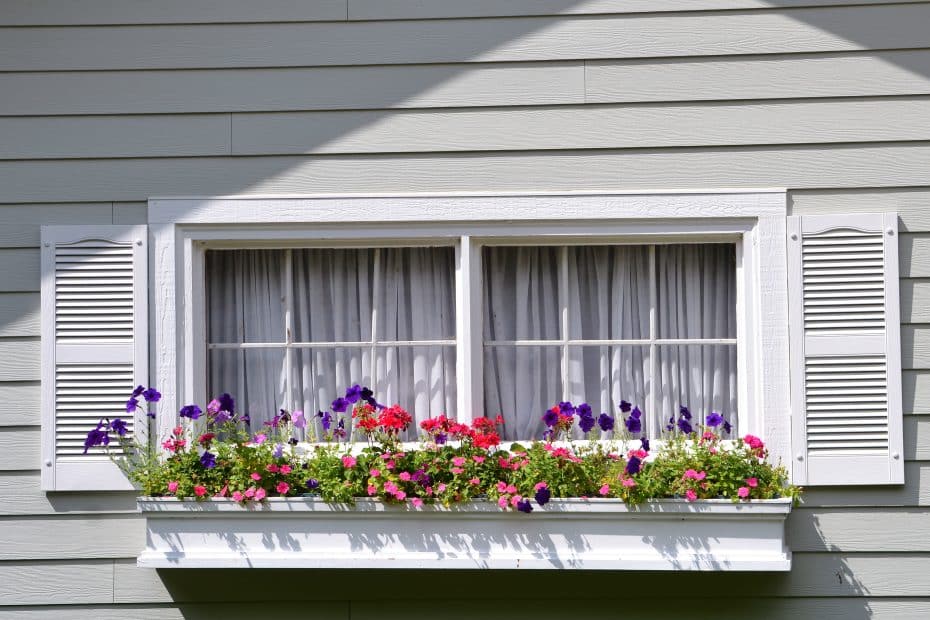
When attaching vinyl siding around windows or doors, you will need to cut out portions for them and then use J-channel to cover up the edges. This will provide a smooth, finished look and also help prevent rain from coming in around them. Finally, be sure to use corner posts at each of the house’s corners, as these provide additional support for your siding and keep it looking great for years to come.
You’re Ready To Start Replacing Vinyl Siding On Your Home!
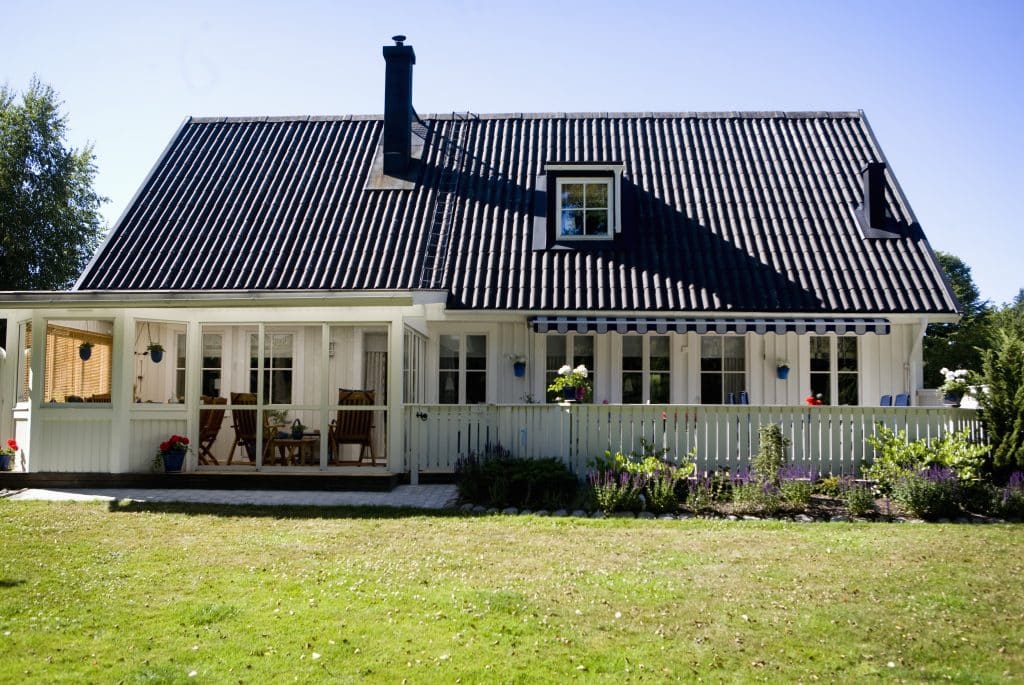
Replacing vinyl siding requires careful planning and preparation, but the end result can be well worth the effort. By assessing any damage to your home’s exterior prior to starting, following best practices for removal and installation, and using quality materials, you can ensure that your new siding will provide lasting performance against weather infiltration. With these tips, you can get the job done right and save time, energy, and money.