
Laying A Strong Foundation
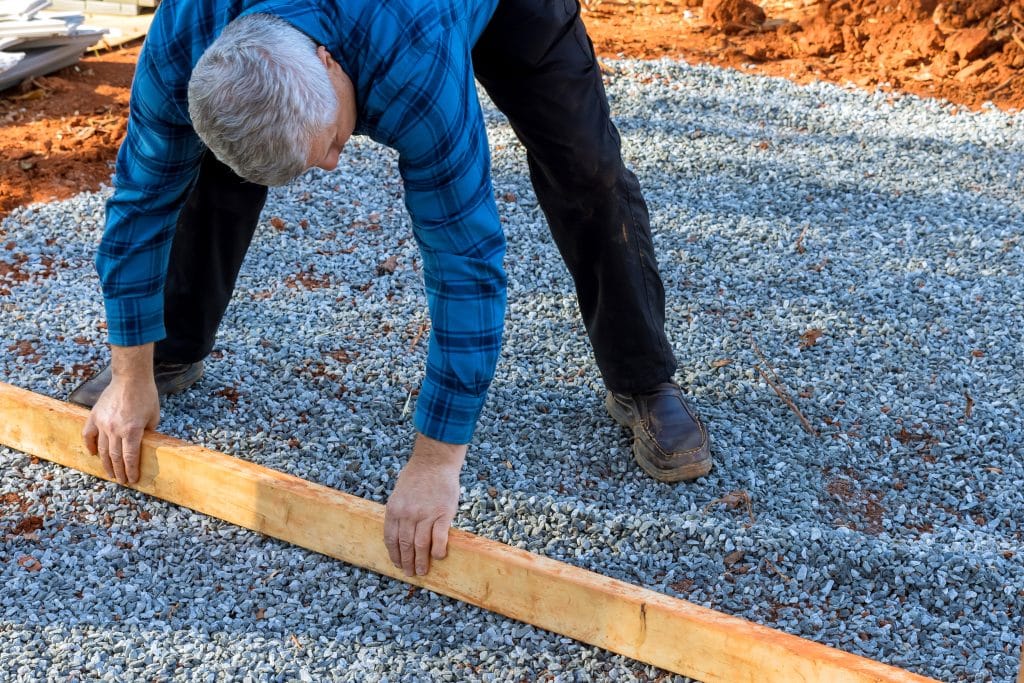
The foundation is the unsung hero of any sturdy shed. Depending on the soil type, weight of the shed, and regional climate, one can choose between several foundation types. Concrete slabs provide a solid and durable base, suitable for heavy structures or areas prone to strong winds. They might be a tad costlier and labor-intensive but offer unmatched stability. On the flip side, piers or block foundations can be quicker to set up and work best in regions with good drainage, ensuring the shed stays above potential floodwaters.
For those looking for a more temporary or movable solution, skid foundations could be the way to go. Consisting of timber laid down parallel to each other, they distribute the weight of the shed evenly and can be relocated if necessary. Regardless of the type chosen, it’s crucial to ensure the foundation is level. Any tilt or unevenness can lead to structural problems down the line, making doors and windows misaligned and potentially shortening the lifespan of the shed.
Building The Frame And Roof

Once the foundation is ready, it’s time to erect the frame, which forms the skeleton of the shed. Beginning with the wall frames, ensure they are straight and well-anchored to the foundation. Walls should be constructed on the ground and then raised into position, securing them together and ensuring they are square. With the walls in place, attention can turn to the roof. Rafters or trusses, depending on the chosen roof style, provide the necessary support and shape.
Roofing isn’t just a protective cover; it’s a statement of style. The materials chosen can dramatically influence the shed’s look and its efficiency. For instance, asphalt shingles are a popular choice due to their durability and wide range of colors. Metal roofing, while providing longevity, can also add a modern twist to the design. Beyond aesthetics, it’s essential to ensure the roofing material can effectively shield against rain, snow, and other elements. Properly installed gutters can aid in water drainage, preventing potential damage to the shed’s base and prolonging its life.
Adding The Finishing Touches

Upon having a stable frame and a protective roof, the shed now enters its final phase of development: customization and finishing. Doors play a crucial role in defining the accessibility of the shed. Depending on the use, a wide double door might be apt for moving larger items, while a standard-sized door suffices for a simple storage shed or hobby room. When installing, ensure they’re hung level and swing freely. Windows, if desired, not only provide natural light but can also serve as a design element, enhancing the overall look.
Ventilation is another key aspect to consider. Proper airflow can prevent the buildup of mold, mildew, and musty odors. Strategically placed vents or windows can encourage cross-ventilation. On the inside, consider the functional needs: shelves for storage, workbenches for projects, or even insulation if the shed will be used year-round. Flooring, whether it’s simple plywood or something more elaborate like tiles or carpet, should be chosen based on the shed’s primary function.
Maintenance And Upkeep
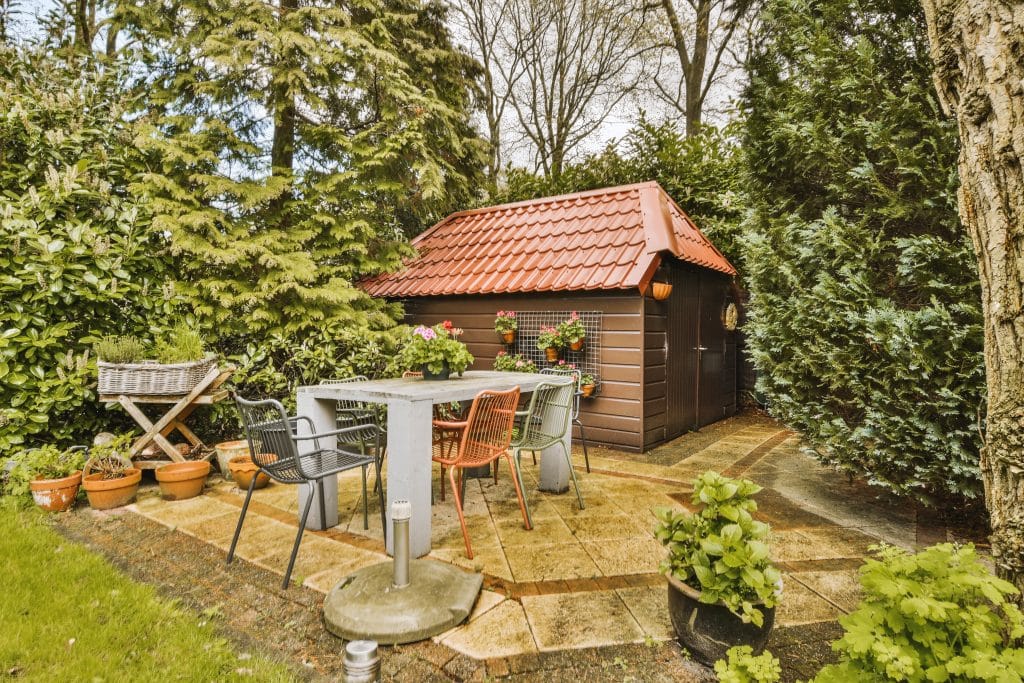
A shed, like any other structure, demands regular maintenance to stand the test of time. Key areas to focus on include the roof and the foundation. Regular checks for leaks or wear can help in timely replacements or repairs, ensuring the interior remains dry and protected. For wooden sheds, periodic treatments or paint jobs might be required to keep the wood protected from pests and decay. Metal sheds, while sturdy, might need checks for rust, and vinyl sheds can benefit from an occasional wash to keep them looking fresh.
Pests can pose a significant threat, especially if the shed is used to store food or organic materials. It’s a good idea to conduct periodic checks for signs of infestation. Simple practices like ensuring the shed is well-sealed, using natural repellents, or even commercial pest control can make a difference. In regions prone to heavy snowfall, it’s essential to ensure snow doesn’t accumulate on the roof, which could lead to structural damage. Simple practices and regular checks can ensure the shed remains a lasting and proud DIY accomplishment.
The Bottom Line
Embarking on the journey to build a backyard shed can be both a fulfilling and practical endeavor. From selecting the ideal spot, choosing the right materials, and adding personal touches, every step brings the vision closer to reality. With diligent maintenance, this DIY masterpiece can not only serve its functional needs but also stand as a testament to skill and creativity. Whether used as a storage space, a hobby nook, or a workshop, a well-constructed shed is a valuable addition to any backyard.
